Related Links
Integrate Acronis Cyber Protect Cloud with IDrive® e2
Acronis Cyber Protect Cloud is designed to deliver cyber protection efficiently and securely. Use Acronis Cyber Protect Cloud with IDrive® e2 to combine data backup with AI-based antivirus, anti-malware, and endpoint protection. Learn more about Acronis Cyber Protect Cloud.
Prerequisites:
Before uploading files using Acronis Cyber Protect Cloud, you require:
- An active IDrive® e2 account. Sign up here if you do not have one.
- A bucket in IDrive® e2. See how to create a bucket.
- Valid Access Key ID and Secret Access Key. Learn how to create an access key.
- A valid Acronis Cyber Protect Cloud account.
Configure Acronis Cyber Protect Cloud with IDrive® e2
- Sign in to Acronis Cyber Protect Cloud console.
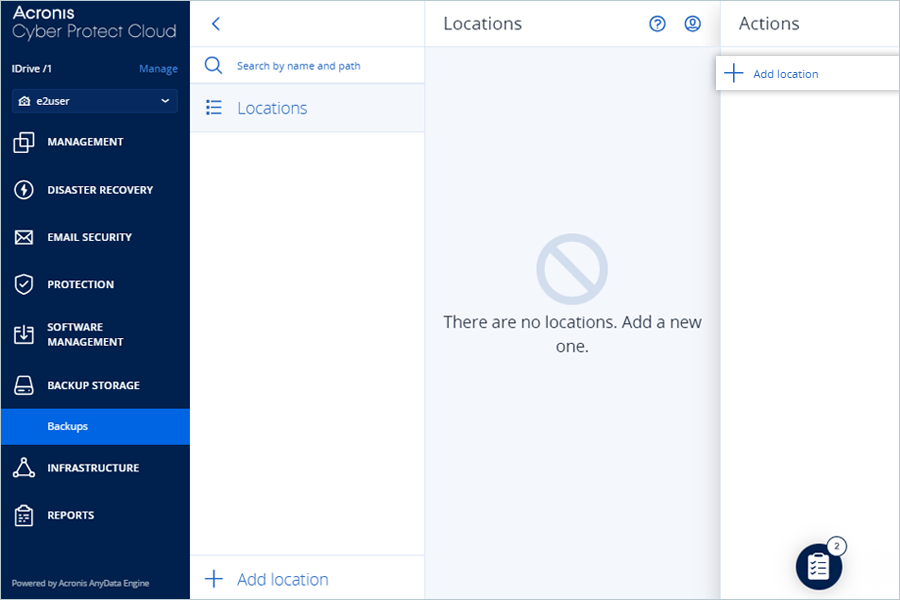
- Navigate to BACKUP STORAGE > Backups.
- Click Add location in Actions.
- Go to Public cloud and select S3 compatible as Cloud from dropdown.
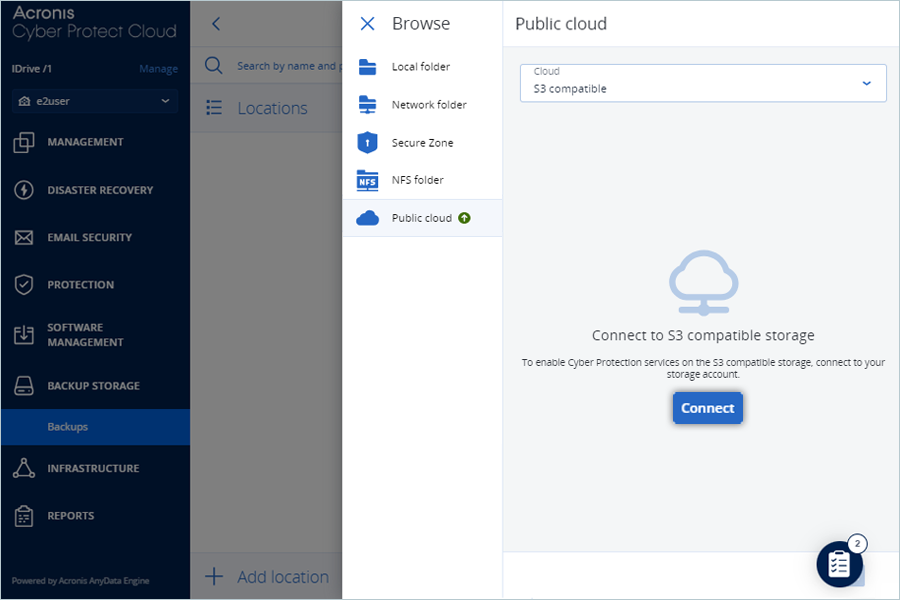
- Click Connect.
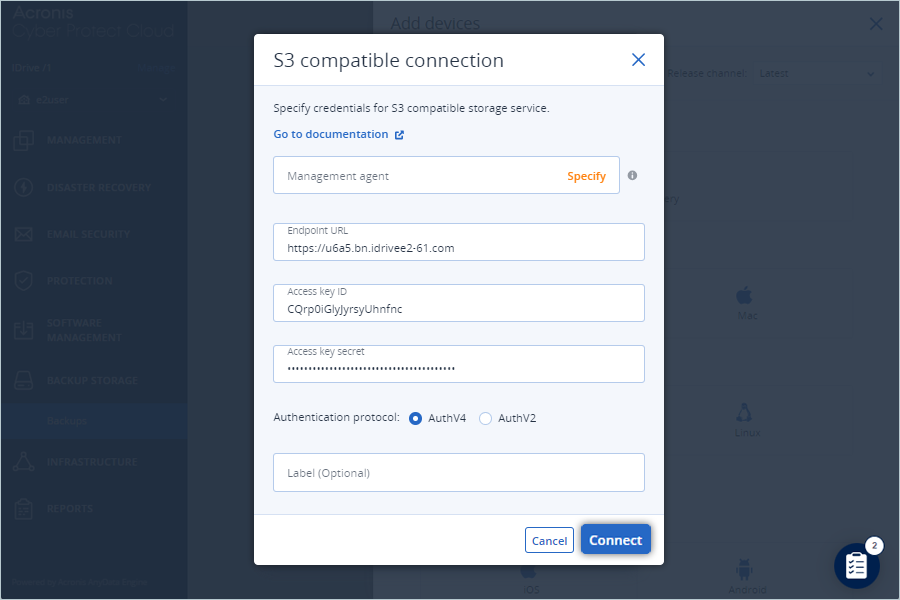
- In S3 compatible connection window, enter your e2 storage credentials:
- Enter the IDrive® e2 storage end-point as Endpoint URL.
- Enter the IDrive® e2 Access Key as the Access Key ID.
- Enter the IDrive® e2 Secret Access Key as the Access key secret.
- Select AuthV4 as the Authentication protocol.
- Click Connect.
- Under Add devices, select the desired device (e.g., Windows Workstation). The download will start automatically.
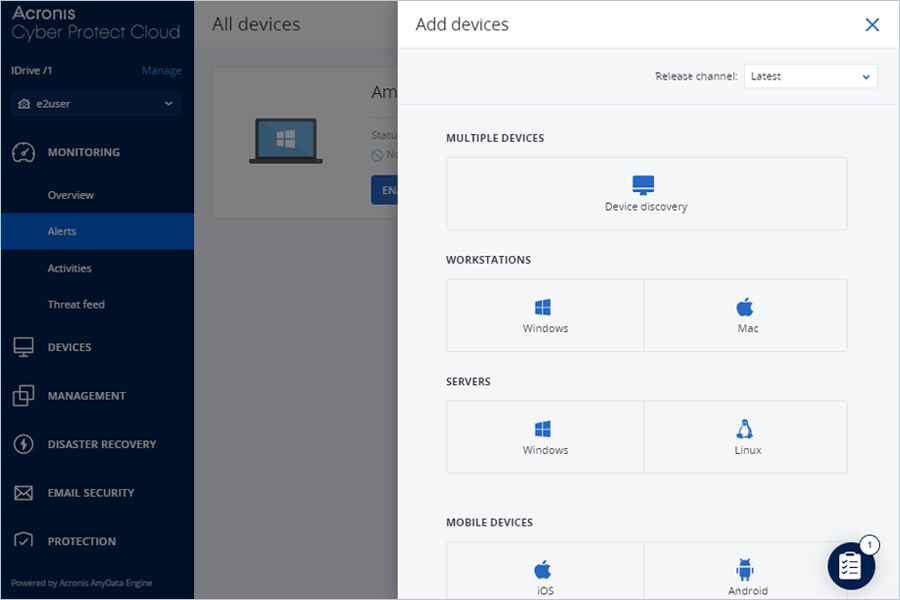
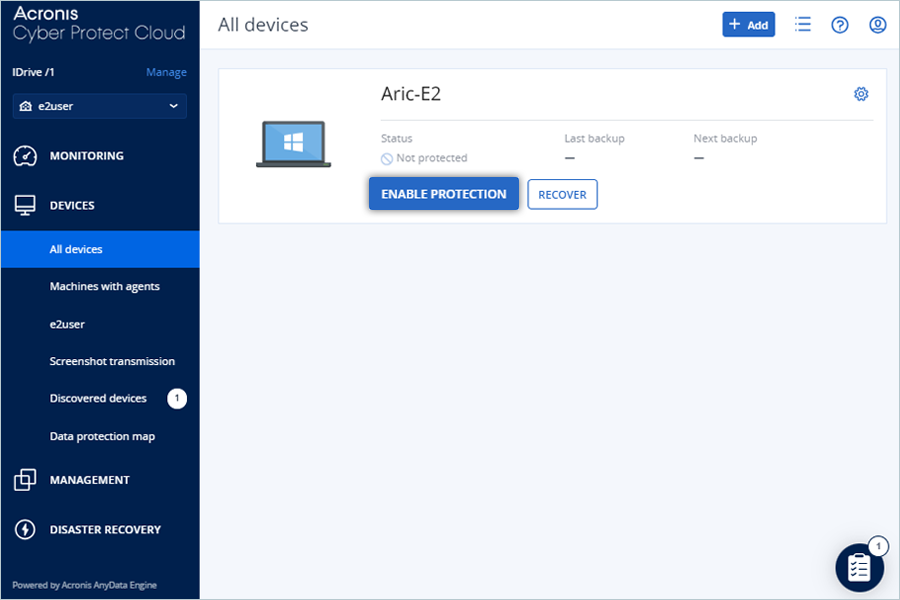
Note: Install the downloaded file. After installation, the device will appear under All devices.
- Under All devices, click ENABLE PROTECTION for the newly added device.
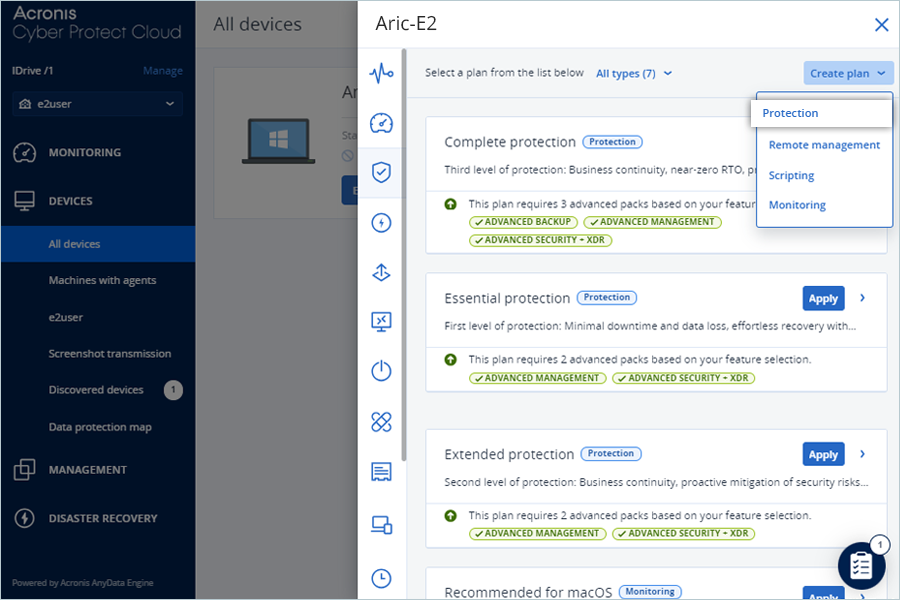
- In the slider window, click Create plan from dropdown and select Protection.
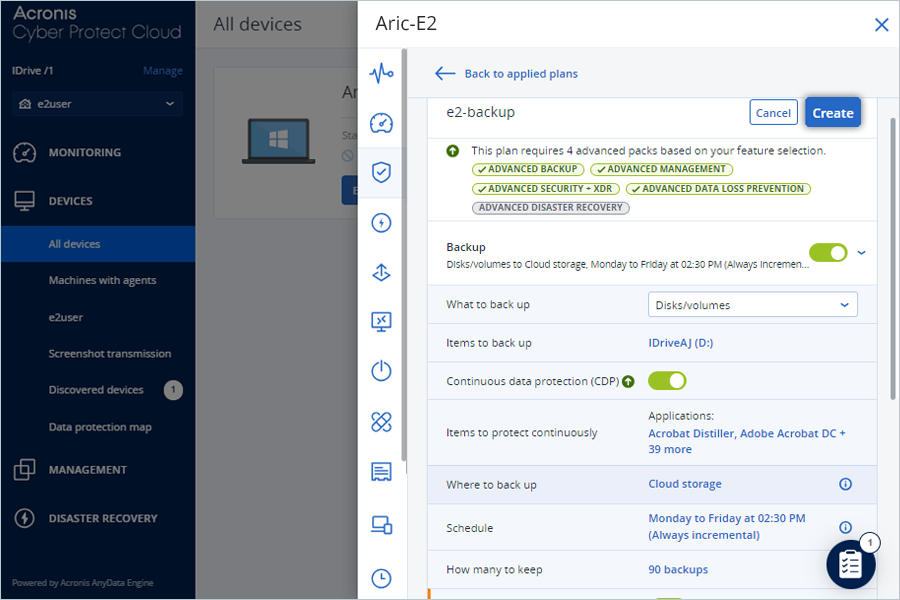
- Enter a name for the Protection Plan.
- Select items for backup (local drive/folder/files) by clicking on Items to backup.
- Click Where to back up.
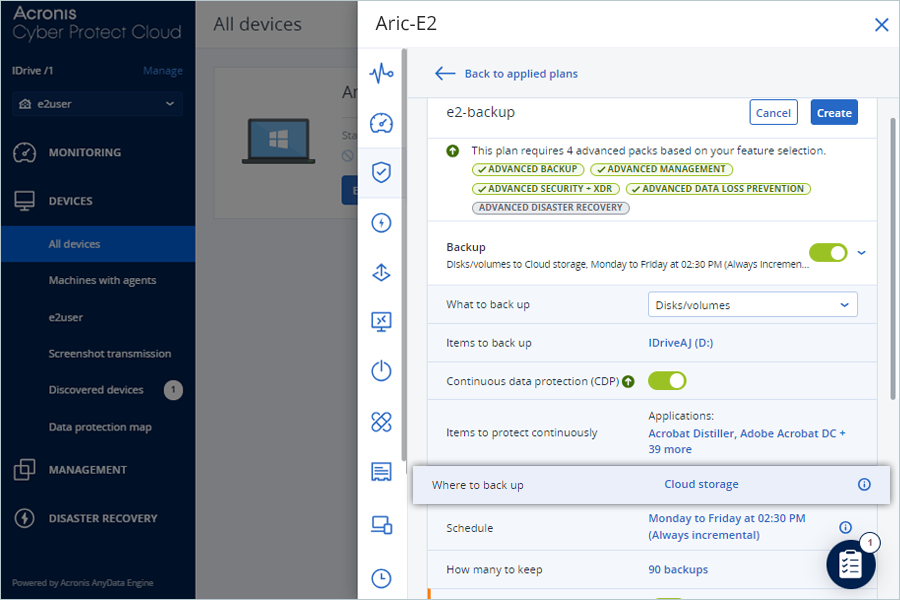
- Select the added Cloud storage or repeat steps from 3 to 6 to add a new location.
- Click Add.

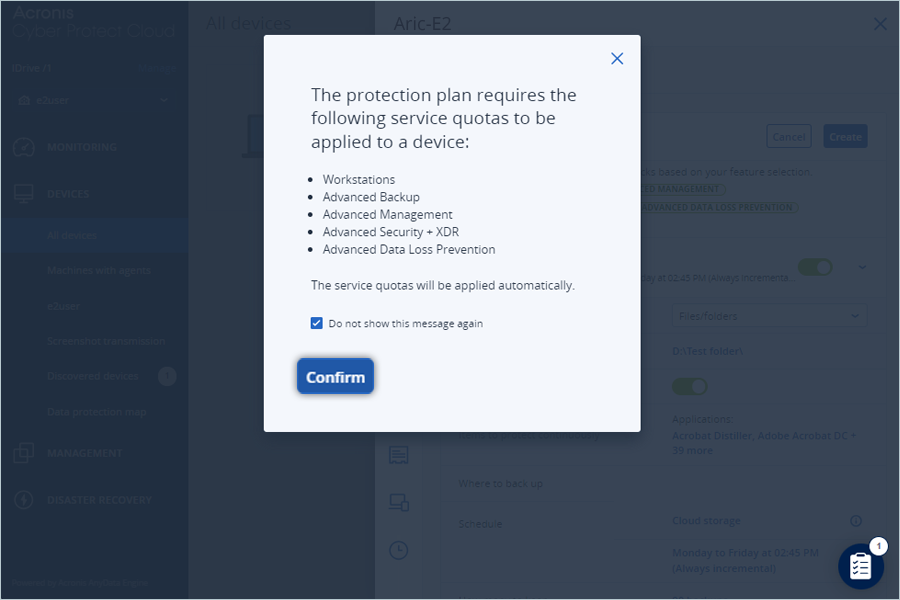
- Click Confirm.
- Click Create.
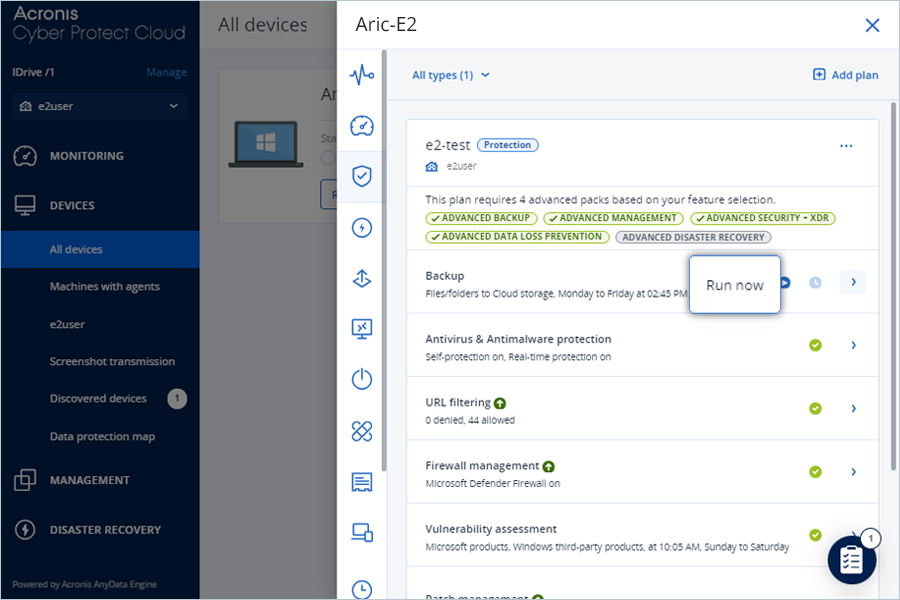
- Click Run now to initiate the backup process.
Note: Data restoration is handled by your specific backup solution provider and is affected by multiple variables that are unique to your environment. For application-related enquiries/support, it is strongly recommended you seek guidance from the technical team of your backup solution provider.