Integrate Wowza Streaming Engine with IDrive® e2
Wowza Streaming Engine is a self-hosted, Java-based media server that enables secure, high-performance live and on-demand video streaming across protocols such as WebRTC, SRT, HLS, and RTMP, with support for transcoding, DRM, and low-latency delivery. It gives organizations full control over streaming workflows, infrastructure, and customization for use cases ranging from real-time events to large-scale broadcasting. Integrating Wowza Streaming Engine with IDrive® e2 provides a capable, scalable cloud object storage solution that effortlessly supports secure, efficient, and cost-effective media storage and delivery workflows.
Prerequisites:
Before you begin, ensure the following:
- An active IDrive® e2 account. Sign up here if you do not have one.
- A bucket in IDrive® e2. Learn how to create a bucket
- Valid Access Key ID and Secret Access Key. Learn how to create an access key.
- Wowza Streaming Engine application installed and running on your machine.
Configure Wowza Streaming Engine with IDrive® e2
The following steps can help you successfully configure and integrate Wowza Streaming Engine with IDrive® e2.
- Install and log in to the Wowza Streaming Engine server.
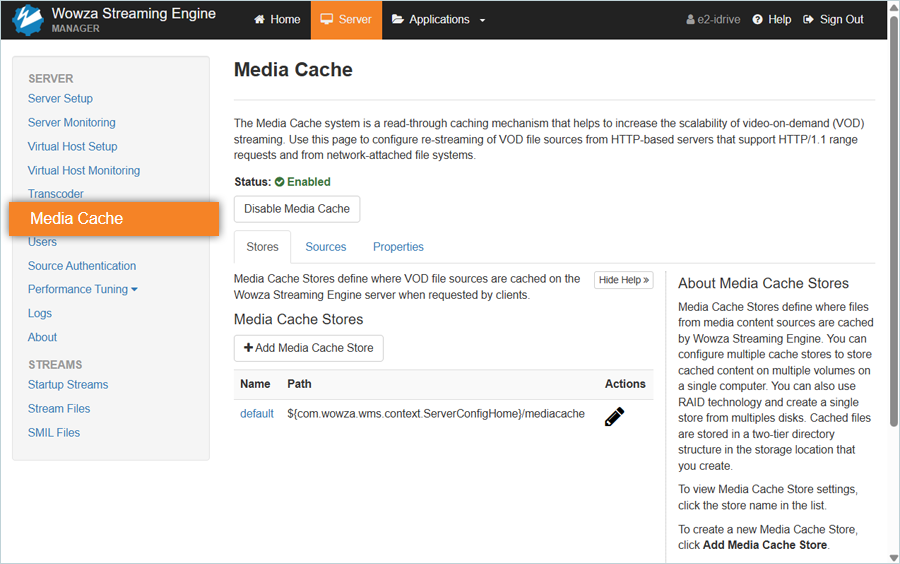
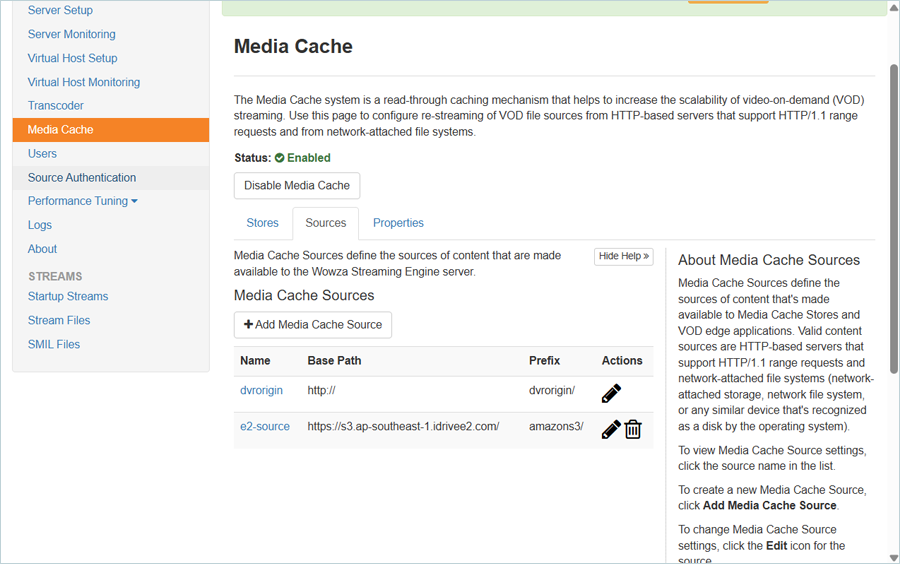
- Click Server next to Home, then select Media Cache.
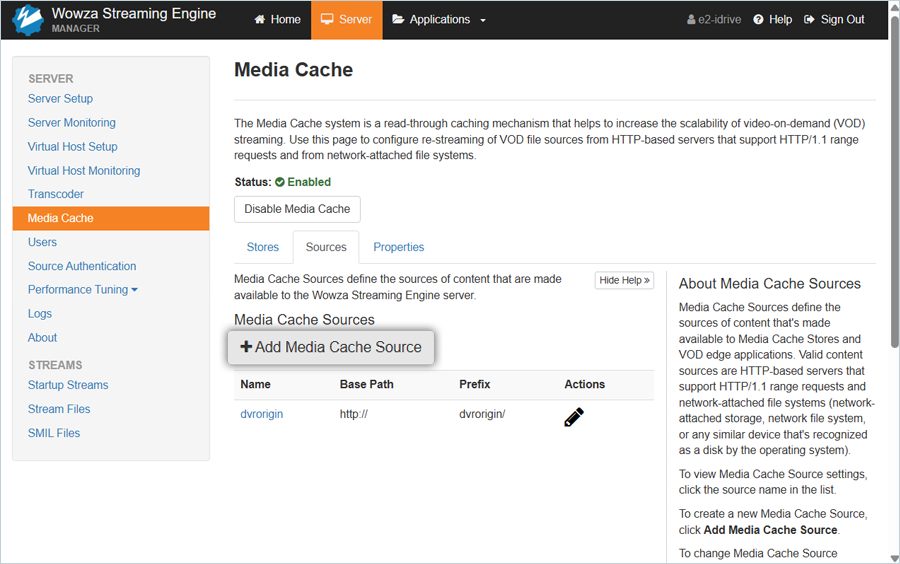
- Click the Sources tab, then click + Add Media Cache Source.
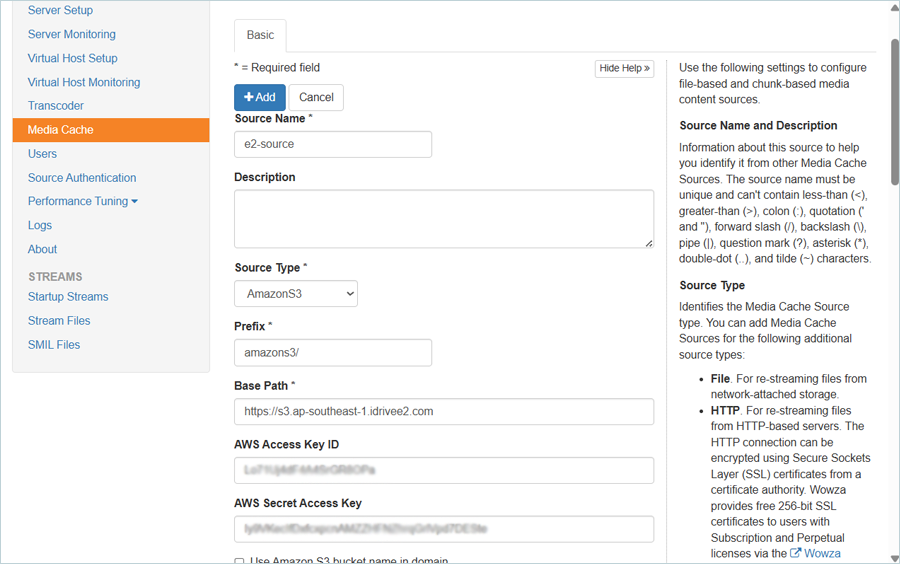
- To add a Media Cache source, follow the steps below.
- Enter a name as the Source Name.
- Select Amazon S3 as the Source Type.
- Enter your IDrive® e2 endpoint as the Base Path.
- Enter your IDrive® e2 Access Key as the AWS Access Key ID.
- Enter your IDrive® e2 Secret Key as the AWS Secret Access Key.
- Click + Add.
- Check the newly added source in the Media Cache Sources list.
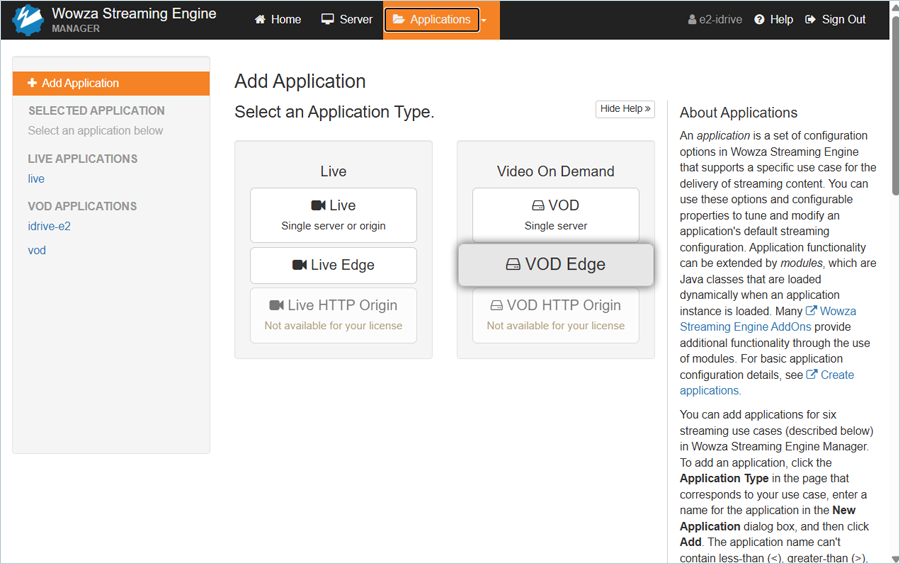
- In the header menu, click Applications, then select VOD Edge as the Application Type.
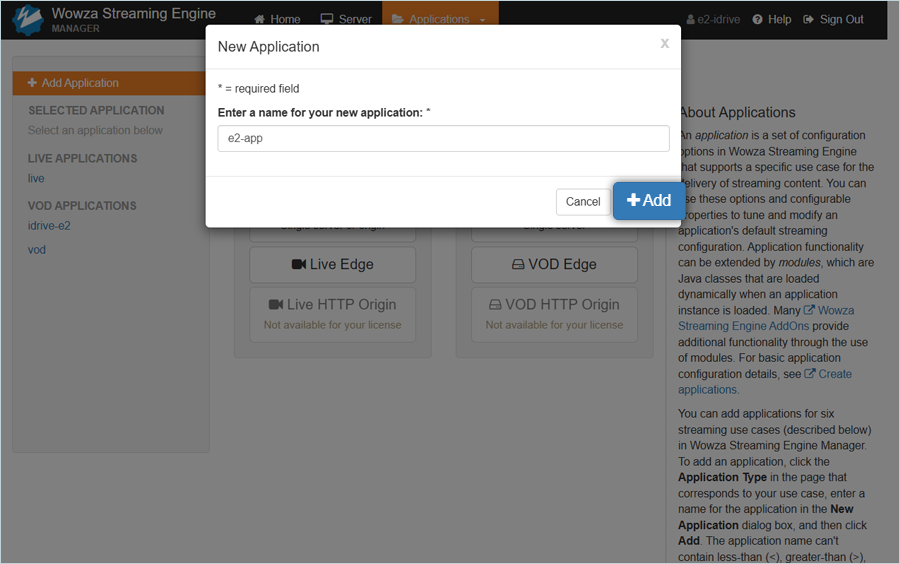
- In the New Application popup, enter a name for your new application and click + Add.
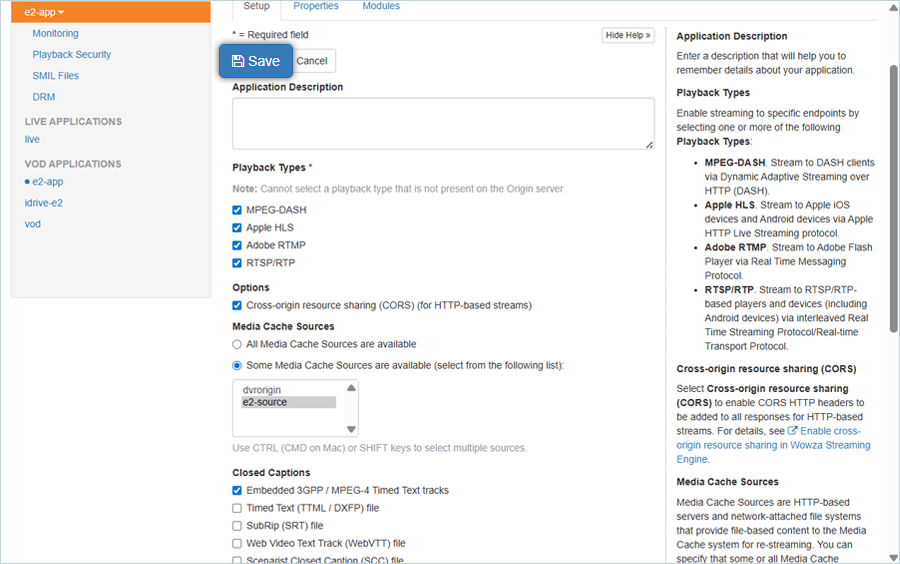
- Select the desired Playback Types, then select the Some Media Cache Sources are available (select from the following list) radio button and choose the Media Cache Source created in the previous step. Click Save.
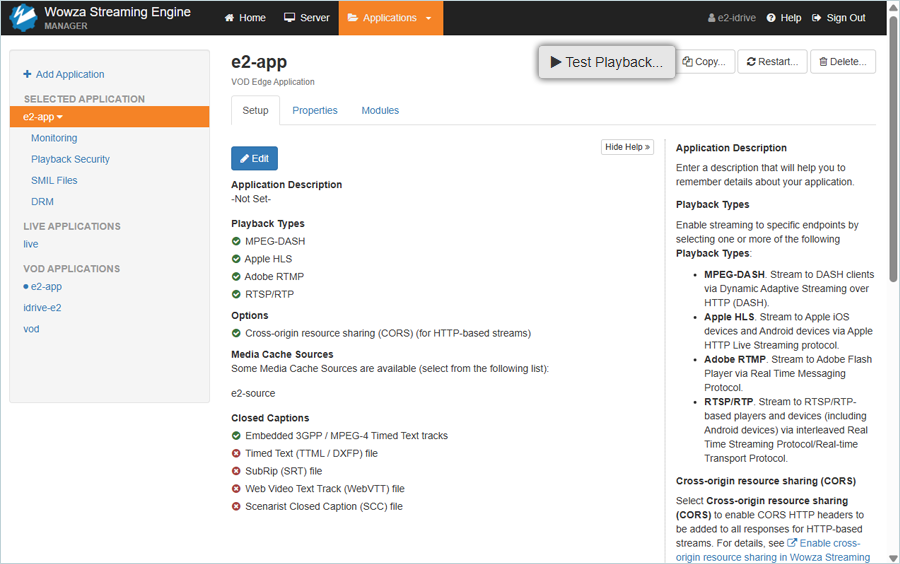
- Click Test Playback to verify that your application has been created.
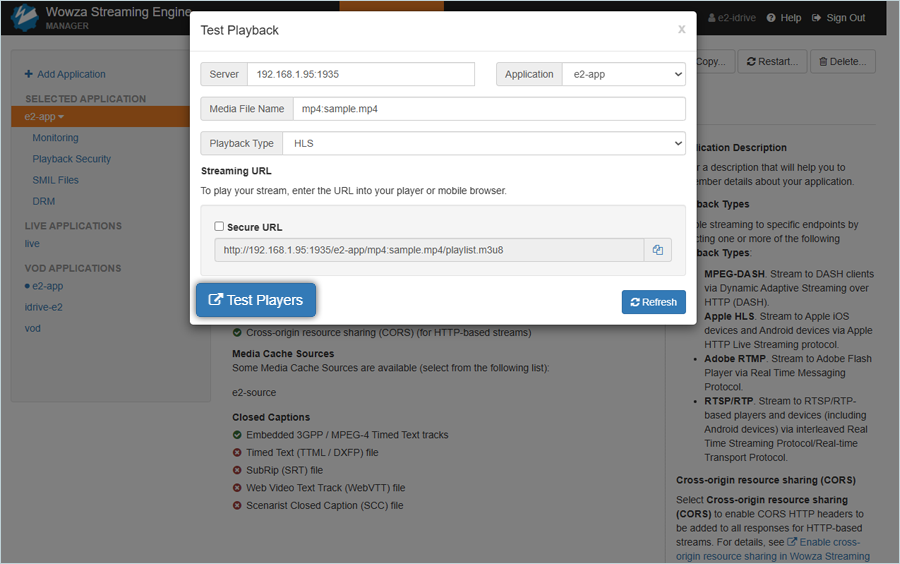
- In the Test Playback popup, click Test Players.
Note: The data restoration process is managed by your backup software, which helps recover lost or compromised data. Each computing environment is unique, and factors such as data type, software settings, and system performance can impact the restoration process. If you encounter issues or have application-specific questions, please contact the technical support team for your backup software for expert assistance.